Basic Information
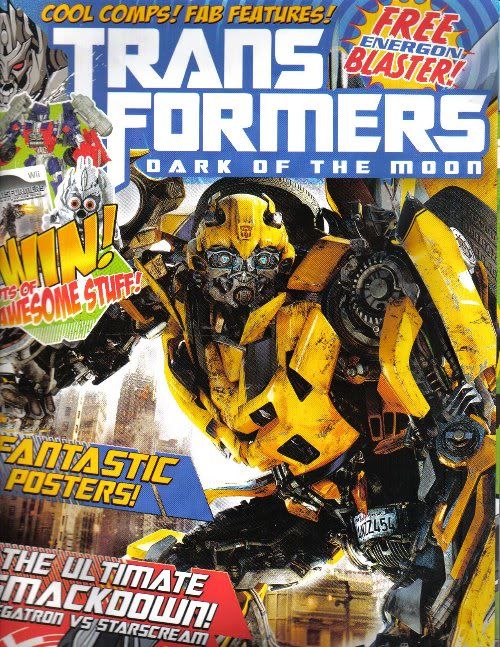
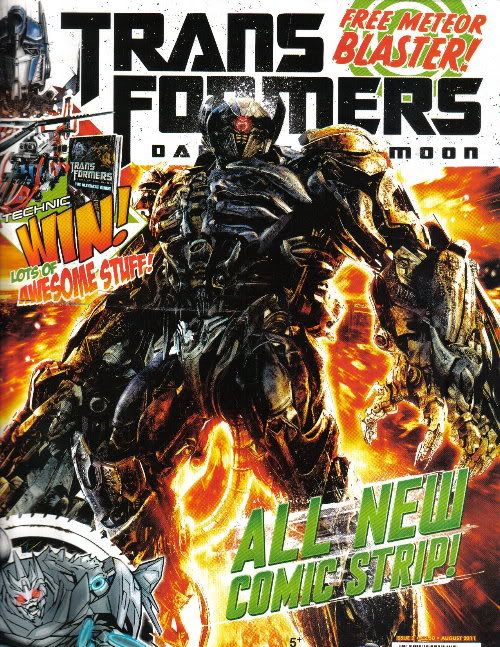
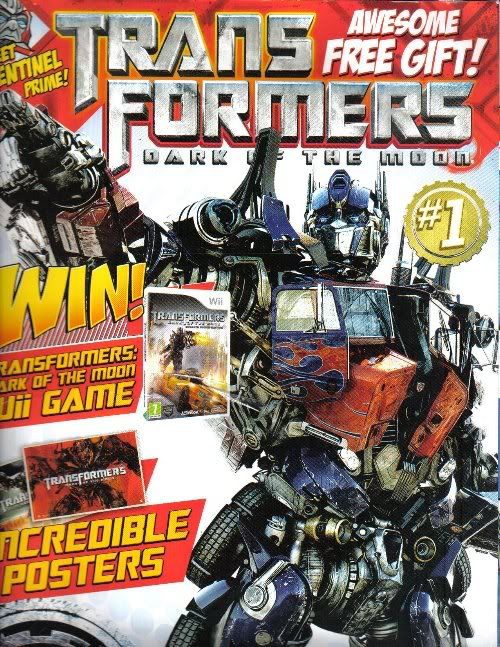
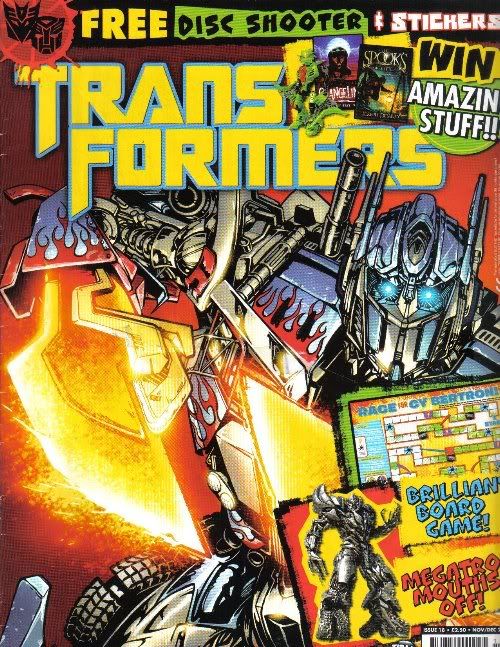
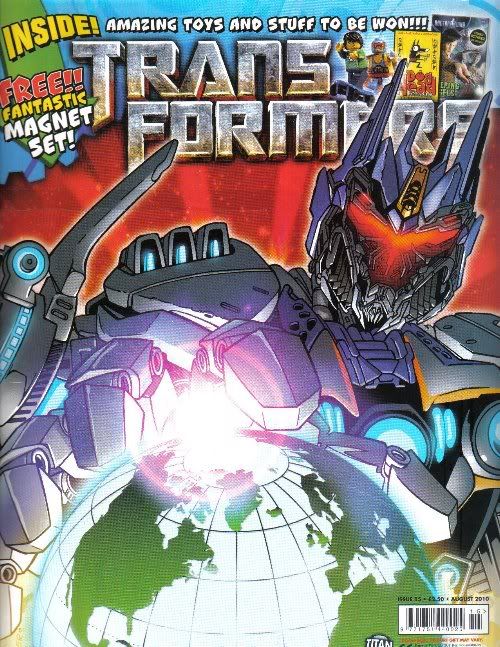
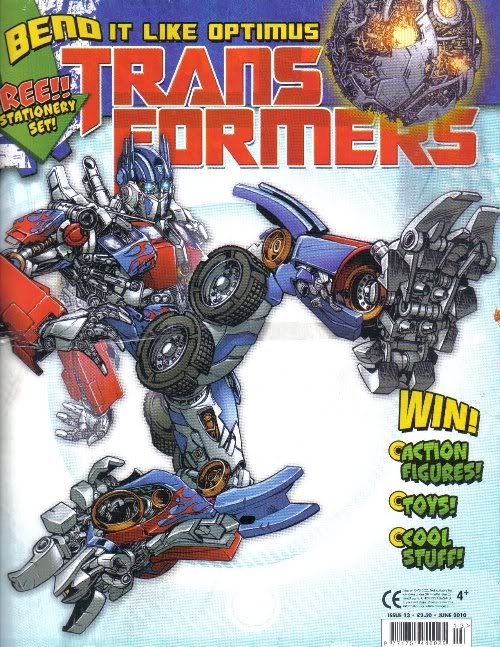
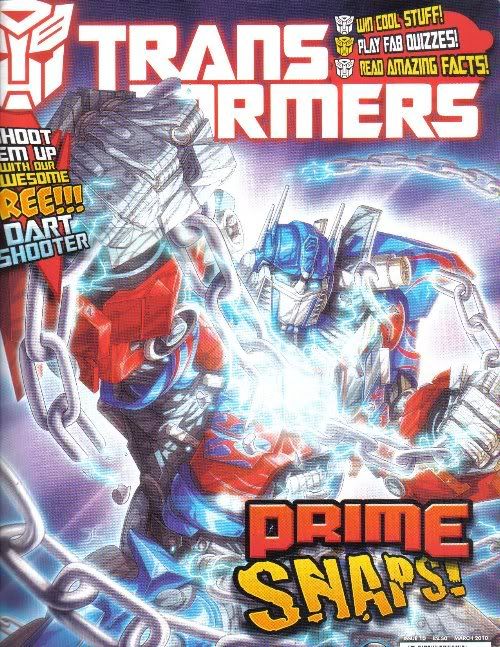
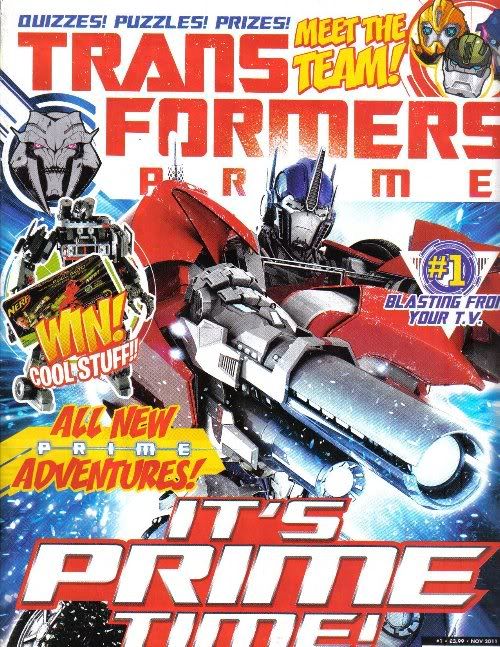
Cover Characters: Optimus Prime
Cover Date: November 2011
Price: £3.99
Poster: DOTM Shockwave in Chicago
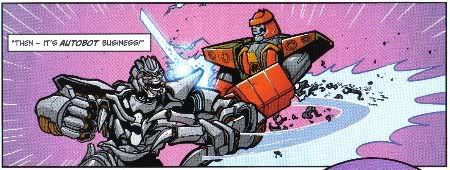
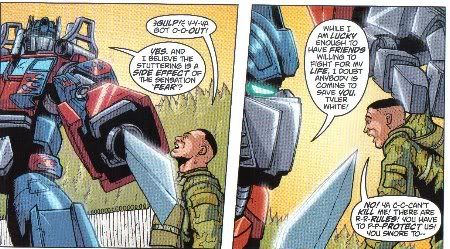
Comic Title: The Safe and the Failsafe
Script: Robin Etherington
Art: Jeremy Tiongson
Lettering: Rona Simpson

Comic Plot
Ratchet has completed work on the "Safe" in Autobot Outpost Omega One and the Autobots test it out, although Bulkhead goes a bit too far and actually smashes open the floor, much to Ratchet's annoyance.
Arcee looks into the whole and sees a Nuclear bomb with a timer ticking down, and then are told by Jack and Miko that there are Decepticons approaching the base, having been attracted by the radiation from the exposed warhead.
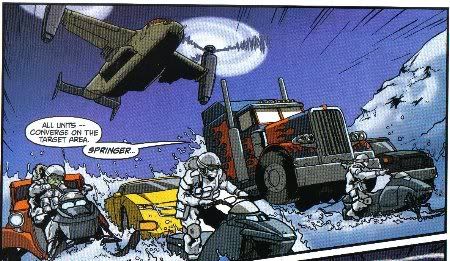
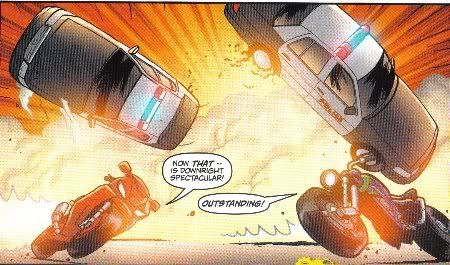
Optimus, Arcee and Bumblebee head outside to deal with the Vehicons, whilst Bulkhead, Ratchet and the humans stay behind to deal with the warhead. Outside, the Vehicons are dealt with very easily.
Inside the base Raf works out a way to deal with the warhead, since literally disarming it would be too dangerous he decides to trick it's triggering device by making the numbers ascend instead of descend, meaning that it'll never reach 00:00 and blow up.
After the warhead is sorted with Agent Fowler and a team of scientists arrive and explain that they were informed when the bomb was exposed due to a tracking device inside it, and that some higher ups decided to leave the bomb there as a failsafe, just in case the Autobots turned out to be evil. They remove the bomb, and later Ratchet decides to fix up the Safe with Raf's help this time.
Comic Characters
Autobots
Optimus Prime - Truck Cab
Bumblebee - Muscle Car
Bulkhead - Off Road Car
Arcee - Motorcycle
Ratchet - Ambulance
Decepticons
Vehicons - Sports Cars
Humans
Miko
Raf
Jack
Agent Fowler
Comic Notes
- The DOTM based poster, and the DOTM pull-out including several puzzles implies that these pieces were intended for a 5th issue of DOTM, but it was decided to switch the series to Prime rather last minute (though not as last minute as the decision to drop TFA was!)
- Miko is constantly mis-spelled as Mika
- Raf's glasses are drawn like they were blue lensed shades, unlike how they appear in the series
- The "Safe" isn't an acronym, it's just a safe room to train in
- With the pop up guns and other threats, the Safe is likely a reference to the Danger Room from the X-Men franchise
- This appears to be the first piece of fiction to use the term "Vehicons" for the Decepticon soldiers
- The Autobot's base was fitted with a nuclear bomb in case the Autobots went rogue.....EXTREME MUCH??!?!
- There are at least 87 levels at Omega-One
- The sign on the Safe reads "No one beyond this point who cannot be rebuilt using cogs and gears"...despite the kids having been invited inside......
- Raf suggests having pop-up targets in Megatron's image, similar to those seen in the G1 episode "The Rebirth Part 1"
- Raf hasn't met Megatron by this point as he calls him "that guy Megtaron!" meaning that this must be set before episode 23 of Season One.
Extra Features
Adverts
Competitions
Meet the Autobot Team! - Introduces the main Prime Autobots
The Missing Link! - Solve the puzzle
Megatron's Favourite Words...SEARCH! - A word Search
Episode Guide - Prime - Darkness Rising Part 1
Dark of the Moon Pullout - Including Poster, Puzzles, Megatron & Optimus vs Sentinel feature
Mega-Mouth - Megatron and Arcee take on the letters page